Don’t have an Adobe Illustrator or some fancy-schmancy software to create a cover page? No problem! You can do just fine with Microsoft Word, although this is more of a workaround rather than a straightforward solution.
Just last month, I was required to not only update a user guide, but also to give the cover page a little makeover. Well, what better way to do this than inserting a background image! First, I’ll show you two methods that you can use to achieve the same result. And then I’ll explain the limitations of the cover page function in Word, and why other methods doesn’t work in my next post.
Method 1 – Insert as a picture
1. Open your existing (or a new) Word document. On the Insert tab, click Pictures.

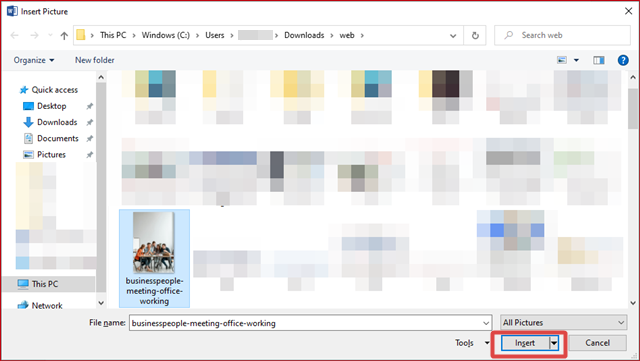
2. Choose an image, preferably in portrait orientation and click Insert.
3. Click the Layout Options icon and select Behind Text.

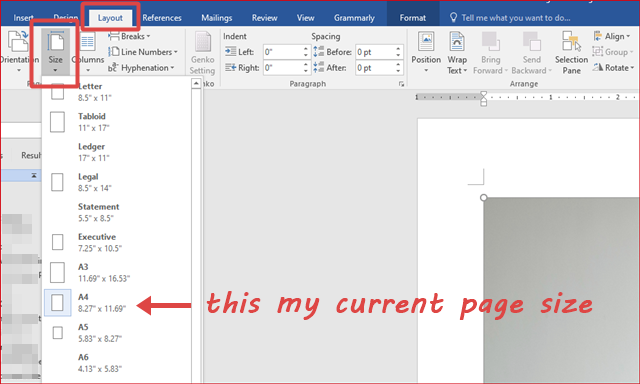
4. On the Layout tab, click Size to check your current page size. You’ll want to resize the image to be the exact size as your page.
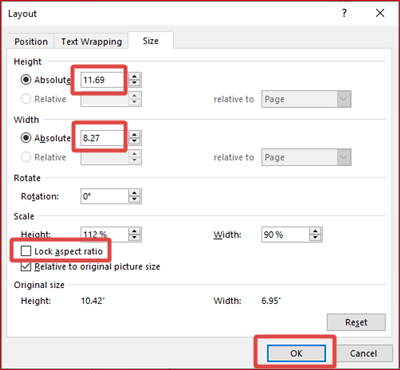
5. Click the image again. On the Format tab, in the Size group, click the Size Dialog Box Launcher.
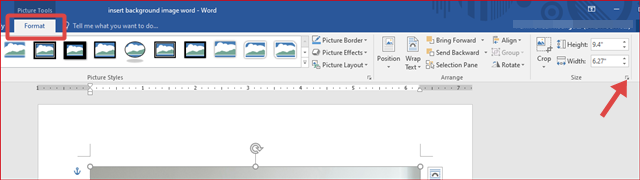
6. Clear the Lock aspect ratio checkbox. Then, change the height and width of the image so that it is the same size as your page. Click OK.
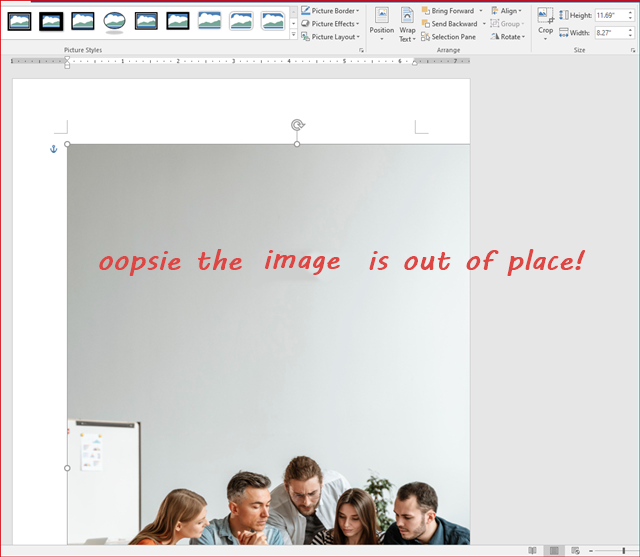
7. The image is resized but it appears out of place.
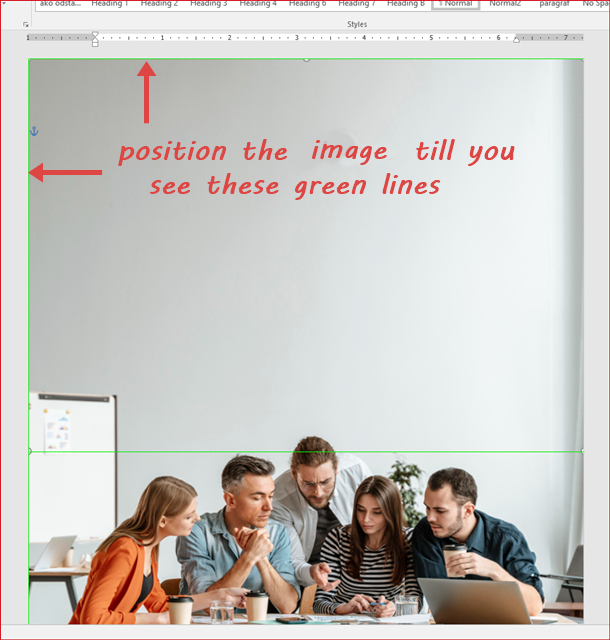
8. Drag the image and position it till it covers the full page. You’ll know that you’ve fully covered the page when you see the alignment guide appear on the top and left side of the page.
Method 2 – Insert as a shape-filled picture
1. Open your existing (or a new) Word document. Check your page size as described in Step 4 of Method 1.
2. On the Insert tab, click Shapes and select a Rectangle.

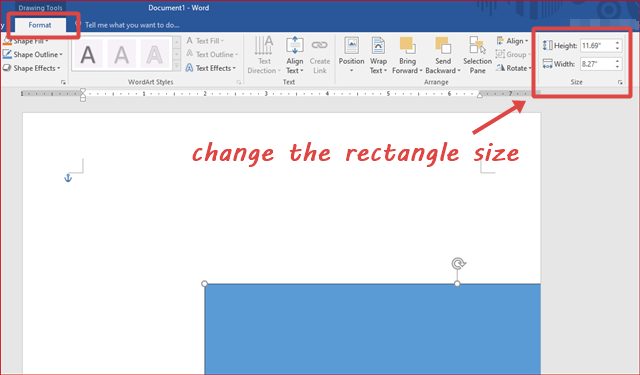
3. Draw a rectangle in any size anywhere on the page. On the Format tab, in the Size group, change the height and width of the image so that it is the same size as your page.
4. Drag the rectangle and position it till it covers the full page. You’ll know that you’ve fully covered the page when you see the alignment guide appear on the top and left side of the page.

5. Right-click the rectangle and select Format Shape from the pop-up menu.
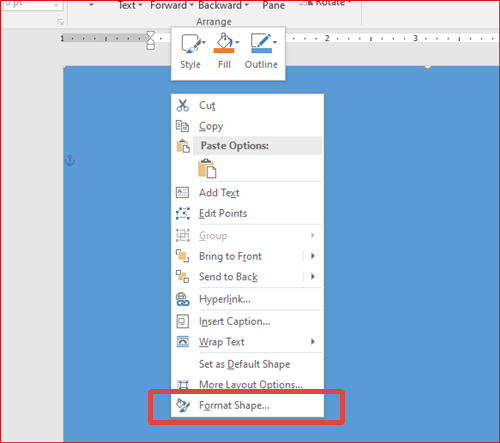
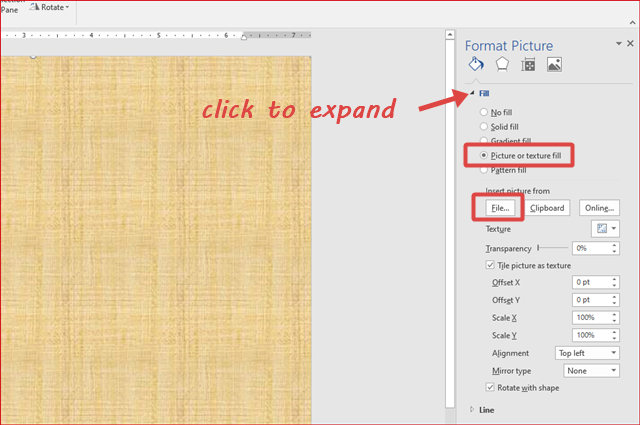
6. The Format Picture pane appears on the right. Expand Fill and select Picture or texture fill. As soon as you do this, you’ll notice the rectangle is automatically filled with a beige-like pattern (or other picture depending on your PC setting). Then, click File.
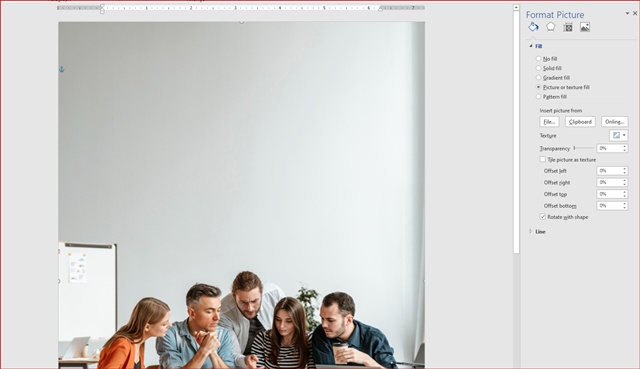
7. Choose an image and click Insert.
8. The rectangle is now filled with the image.
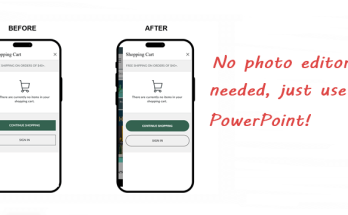
YAY! You’ve now successfully created a full background image in a single page. Throw in some creative designs for the document title and other details to make it look more interesting. Here’s a sample of how it looks like:

Sorry guys, while I can’t show you my fancy-schmancy actual work (ehem this lady has no shame!), but I hope the sample above is good enough for you to start. Which method do you prefer? Let me know in the comment box below!
Image attribution:
Freepik