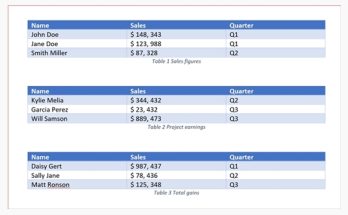
Most of you probably inherited a document from another team member or downloaded it somewhere from your project’s repository and you need to make updates to that document, only to stumble upon what I call as a “table-sore”! One of the most common issues I’ve seen is this – the text in a table cell is not well-spaced, making the content look squeezed in like canned sardines:
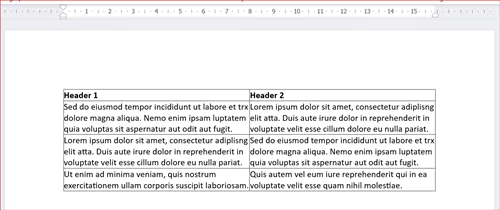
Proper spacing isn’t just about looking good. It’s about readability, professionalism, and user experience. When text is crammed against table borders like this, it creates visual clutter and strains the eyes. It’s like trying to read a book with no margins – a nightmare! Here’s how you can add some space between the text and borders in a table:
1. Hover the table with your cursor till you see the table move handle.
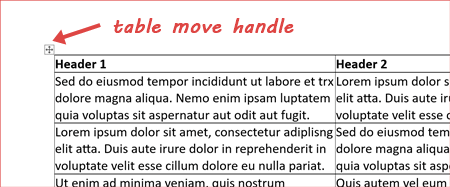
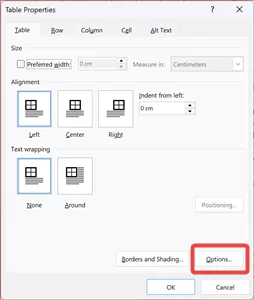
2. Right-click the table move handle and select Table Properties.
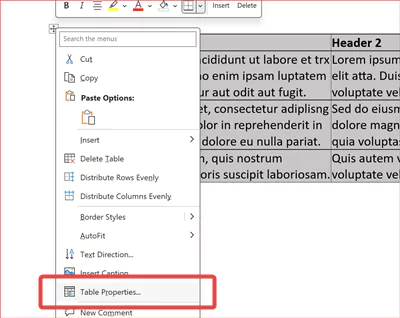
3. The Table Properties dialog box appears. Click Options.
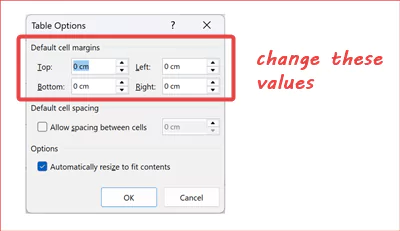
4. The Table Options dialog box appears. The values that we will change are under the section Default cell margins. It shows 0 cm for me but this could be different for you depending on the actual state of the document that you get.
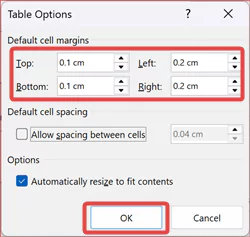
5. Change the values to what you think is the best. In this tutorial, I’ve changed it to 0.1cm for Top and Bottom, and 0.2cm for Left and Right margins. Click OK to close the Table Options dialog box and click OK again to close the Table Properties dialog box.
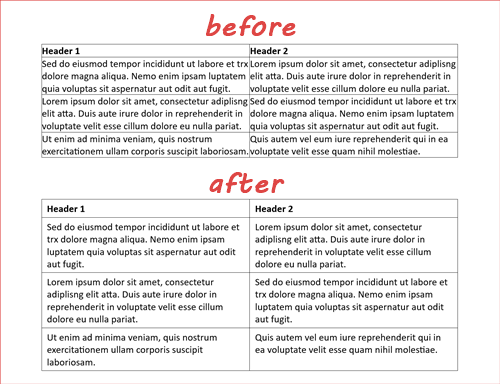
Now, ain’t this one a pleasing table to look at! 😉
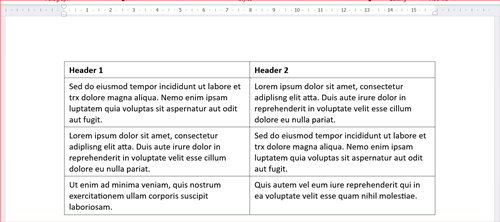
If it doesn’t look good enough for you, keep on experimenting with different values until you achieve the desired visual balance. Here’s a comparison of the “before” and “after” state:
Got a different but similar situation with text and table? Check out this post on how you can use Format Painter to adjust the text alignment in a table cell.