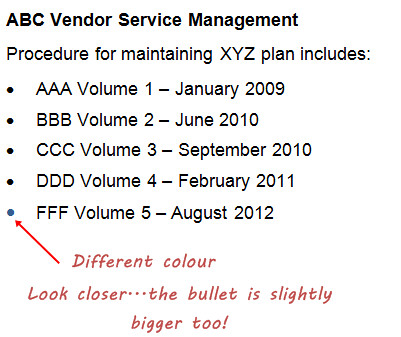
My colleague was absolutely baffled when he discovered one bullet in a list of items that has a different colour than the default black. Well, there are three ways to fix this.
Option 1
1. Select the entire bullet list. A transparent mini toolbar will automatically appear above your pointer.
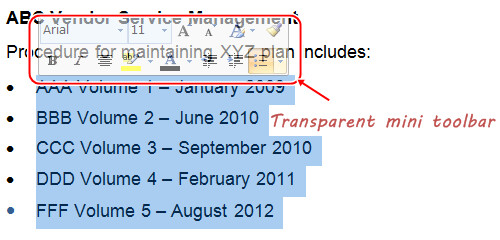
The mini toolbar will be fully visible when you move your pointer over it.
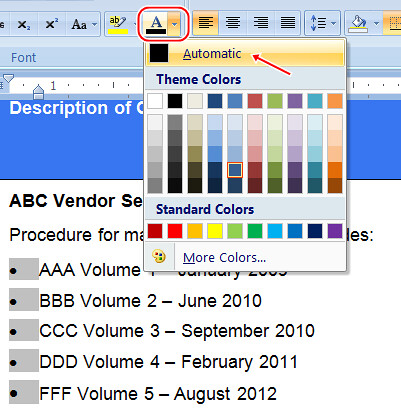
2. Click the Font Color button ![]() (by default, it should be black. If it isn’t, then select Black from the colour palette. This palette will appear when you click the tiny arrow next to the Font Color button).
(by default, it should be black. If it isn’t, then select Black from the colour palette. This palette will appear when you click the tiny arrow next to the Font Color button).
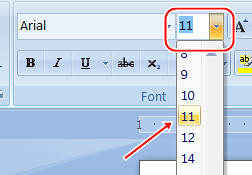
3. Click the Font Size button ![]() and select the size that you want (well, in my case, I’ve selected 11).
and select the size that you want (well, in my case, I’ve selected 11).

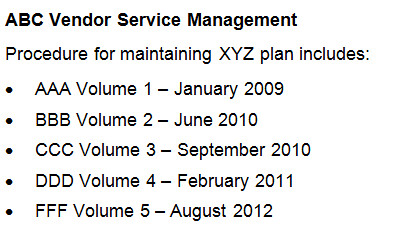
And here’s what you get:
Note: In case the mini toolbar doesn’t appear, you can access the font properties from the Font group under the Home tab.
Option 2
1. Left-click the bullet once. Note that all the bullets in this list are shaded in grey.

2. Click the Font Color button from the Font group. Select Automatic (this should be black by default) or Black from the colour palette. All the bullets will turn into black.
3. To change the bullet’s size, click the Font Size button from the Font group. Select the size that you want. The result will be the same as in Option 1.
Option 3
If, for some weird reasons, the above options do not work, try this.
1. Right-click the bullet and click Bullets from the pop-up menu. Select Define New Bullet from the submenu.
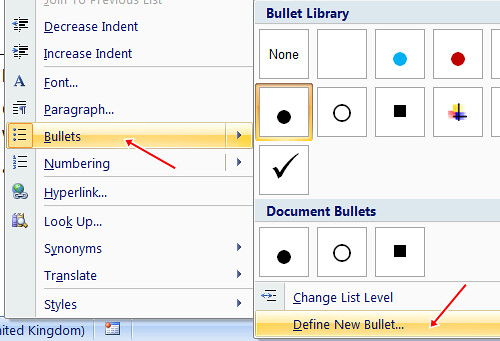
2. From the Define New Bullet dialog box that appears, click the Font button.
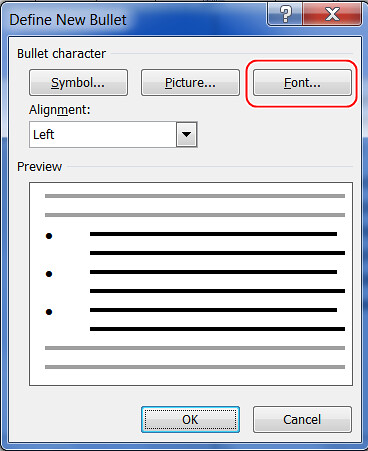
3. Depending on your settings, the Font dialog box will look like this:
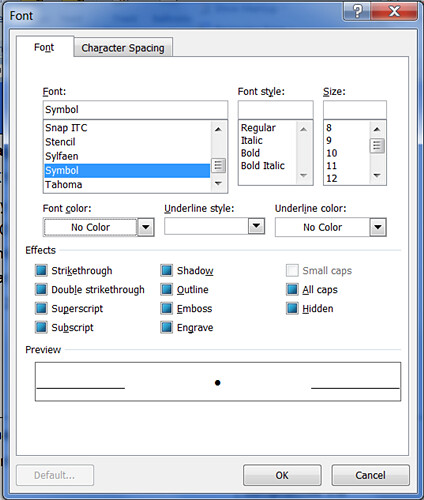
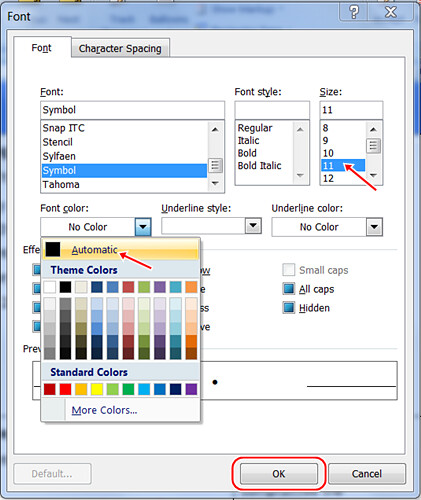
4. Click the Font Color dropdown list and choose Automatic or Black from the colour palette. Select the font size that you want from the Size box. Click the OK button.
The result will be the same as in Option 1.