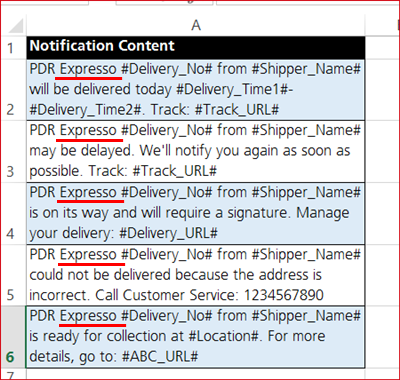
In the previous tutorial, we’ve learnt how to add a word with the Find and Replace function. Now we’re gonna do the exact opposite – delete! Using the same example, I want to get rid of the word “Expresso”.
Here’s how you do it.
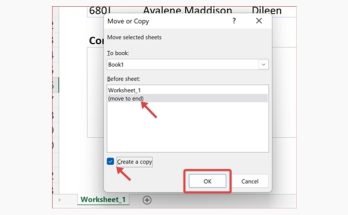
1. Press the Ctrl and H buttons on your keyboard at the same time.
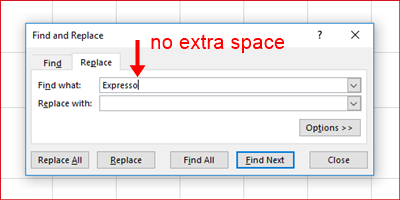
2. A Find and Replace dialog box appears. Enter the word “Expresso ” with a space after the word in Find what. Leave Replace with blank. Click Replace All.
Aaaannnd Merry Christmas! Look what we have now:
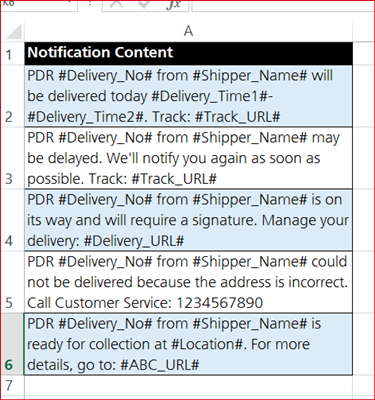
Before you give me that puzzled WTF look, let me explain about the necessity of adding an extra space after the word that you want to delete – it gets rid of the double space that will appear after the deletion. When you leave the Find what field blank, it is actually a space. So, you are replacing a word with a space. Confused? Here’s the illustration:
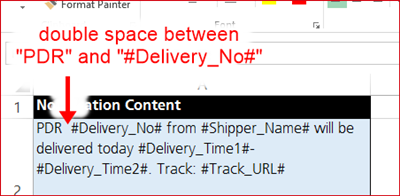
When you replace the word “Expresso” without adding an extra space after it…
Then you are replacing “Expresso” with a “space”. There is already a space between each word in the cell, in this case, “PDR” and “#Delivery_No#”, so you end up getting double space like this:
I hope you are not lost in space with this explanation! If you find this trick useful, please share it with your colleagues!