
I know, I know…I’ve been MIA for like an eternity (blame the darn ravioli!) In my earlier post (zion ages ago), I’ve highlighted some interesting ways to spice up your regular agenda slide. Now, I’ll show you how to create a slide footer that is slightly different from the conventional ones – using a shape and fill it with gradient.
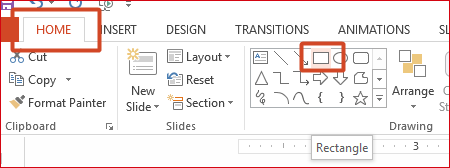
1. On the Home tab, in the Drawing group, click the Rectangle shape.
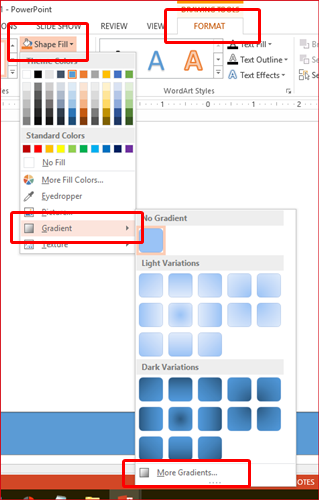
3. On the Format tab, in the Shape Styles group, click Shape Fill and select Gradient. A default list of variations is shown. Click More Gradients… at the bottom.
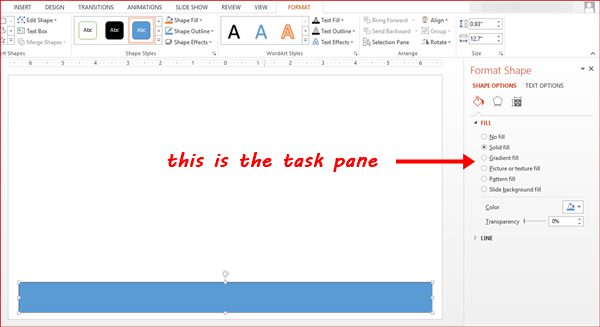
5. Select Gradient fill. The rectangle turns into 50 shades of blue (okay, so it’s just four shades – sort of).
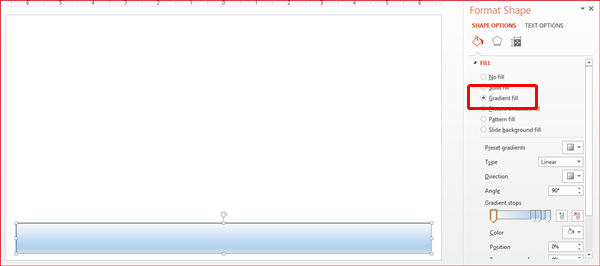
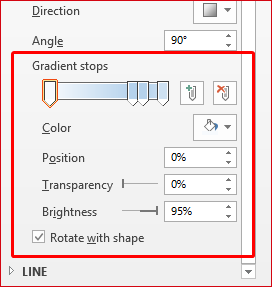
6. At the Gradient stops, you’ll notice there are four stops (some may have more or less). Each stop has different properties that you can change – Color, Position, Transparency, Brightness.
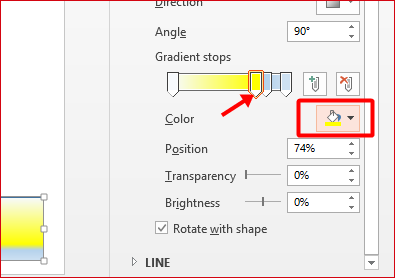
7. For simplicity sake, we’ll leave all the stops as they are and we’ll only change the color. Leave the first stop white as it is. Click the second stop. Then, select ravioli yellow from Color.
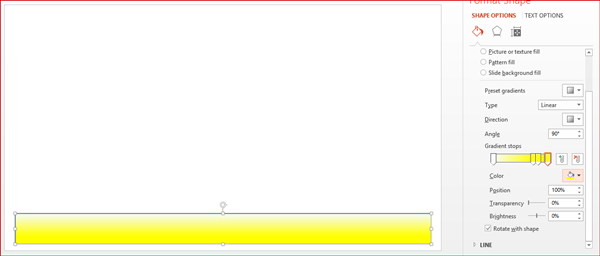
8. Repeat the same step, clicking each stop and changing its color to yellow. The footer looks almost complete.
9. Deselect the rectangle (click anywhere on the slide) and you’ll see that the rectangle retains its blue outline.
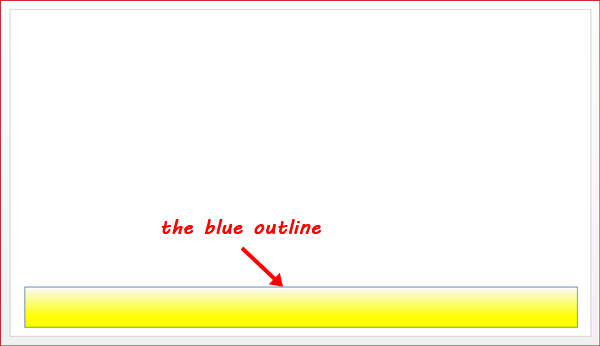
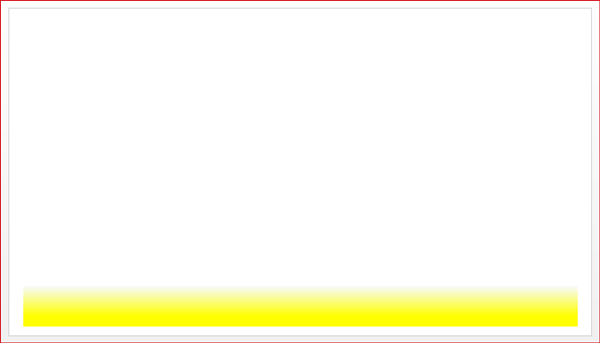
10. To get rid of the outline, select the rectangle. In the task pane, expand LINE and select No line.

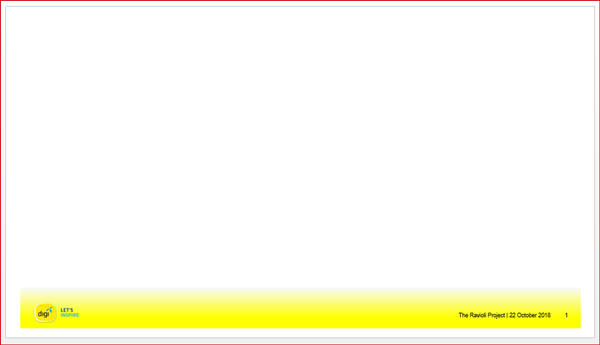
In most projects I’ve worked on, the company’s logo is normally placed on the left, and the slide title/chapter, date, and page number on the right. Something like this:
It all boils down to your own creativity and how you want to make it more interesting. Try it out and I hope you achieve what you want!
PS: Yes, I (again) shamelessly used the Digi logo because it’s yellow and suits the purpose of this tutorial!
PPS: No, I do not work for Digi!


